| Author |
 Topic Search Topic Search  Topic Options Topic Options
|
knowen87 
Guest

Joined: March 17 2012
Location: Logan, UT 84321
Status: Offline
Points: 385
|
 Post Options Post Options
") Thanks(0) Thanks(0)
 Quote Quote  Reply Reply
 Posted: April 24 2017 at 9:12pm Posted: April 24 2017 at 9:12pm |
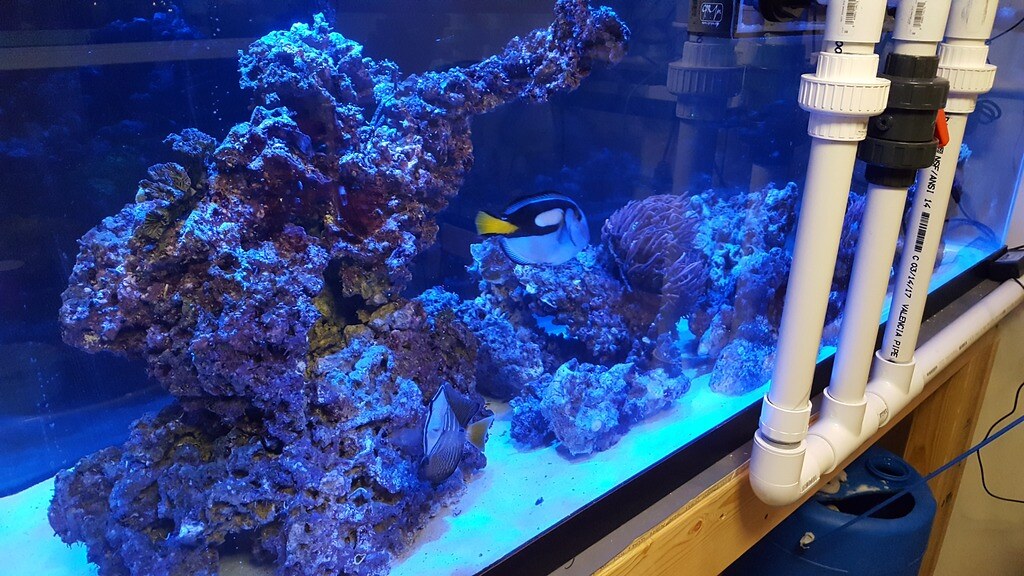
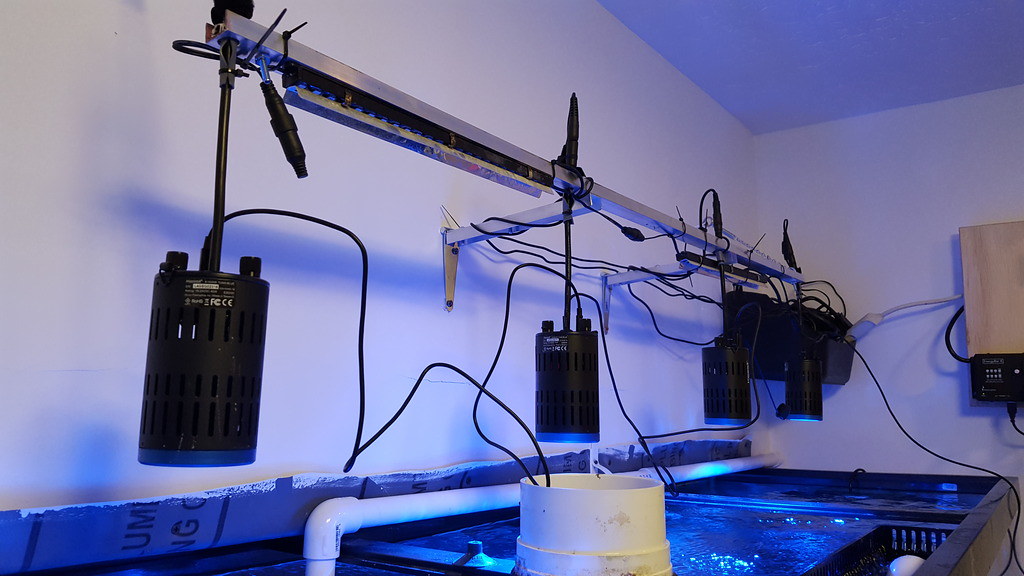
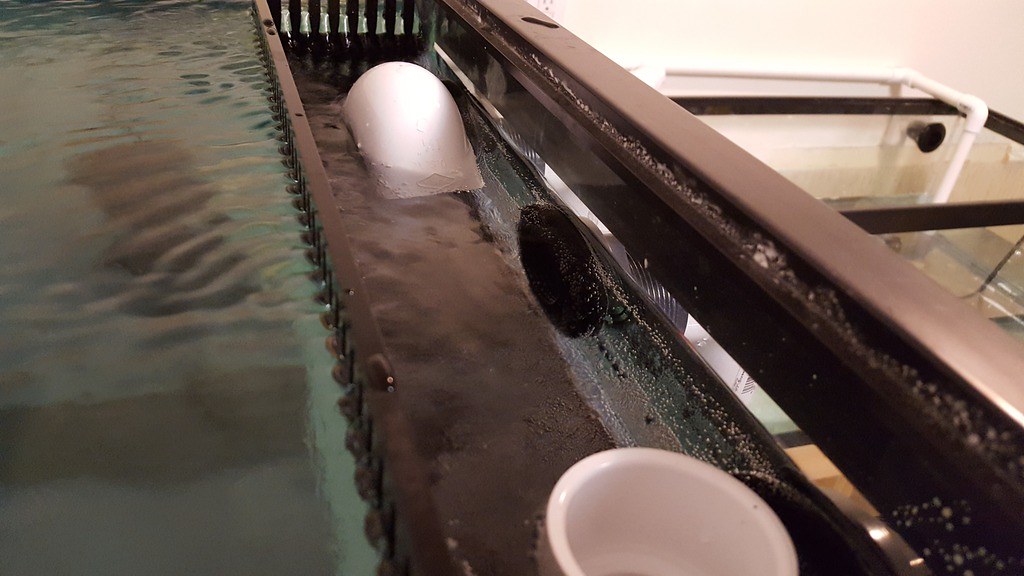
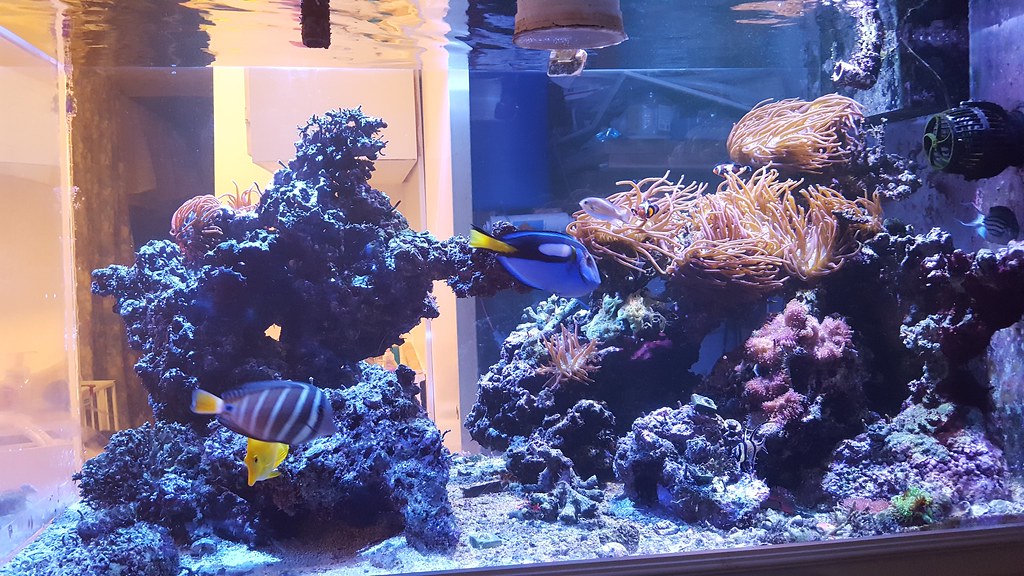
So to tell you all a little more about the move. I was able to get everything in one load. I only had a few corals and the anemones to worry about so that made moving the rock easy. The fish were easily caught and we headed to the new house. When we got to the house i put all of the fish in the 2 quarantine tanks. The clownfish and the smaller fish went in the upper and all of the others went in the lower. I quickly got the rock into the tank. I connected the apex, set up the protein skimmer and got the return pump going. Everything went fine until we had to go. After everything was said and done the aquarium was the last thing I was worried about. The tank was running, the fish were in the quarantine tanks everything would be ok until I came back the first thing in the morning. I was wrong I think that there was not enough oxygen in the water. When I showed up the next day the Lamark was long gone and the yellow tang was gasping on his side. I quickly threw all of the large fish into the main display except for the yellow tang. I did't want him dying under the rocks so I threw him in the sump. The hippo and sailfin we almost imediatly better and the yellow tang was getting better until he got too close to the return pump ( I think). I got the yellow tang back into the tank with the clowns and did an 80% water change. I think that the main culprit of the Lamarks death was the fact that circulation pump in the lower quarantine tank was not working right (that's why I think the oxygen was too low). Everything is fine now but it was hardly the best tank move I have ever done. Here is the tank right now. I will work on aquascaping more once things settle down a little more. 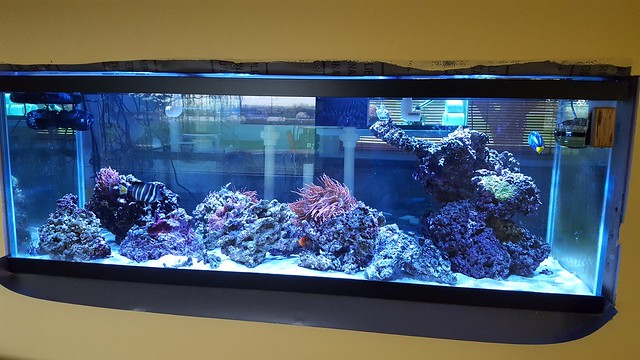 20170424_173406_zpsx7zx2fk7 by Nate Owen, on Flickr 20170424_173406_zpsx7zx2fk7 by Nate Owen, on Flickr
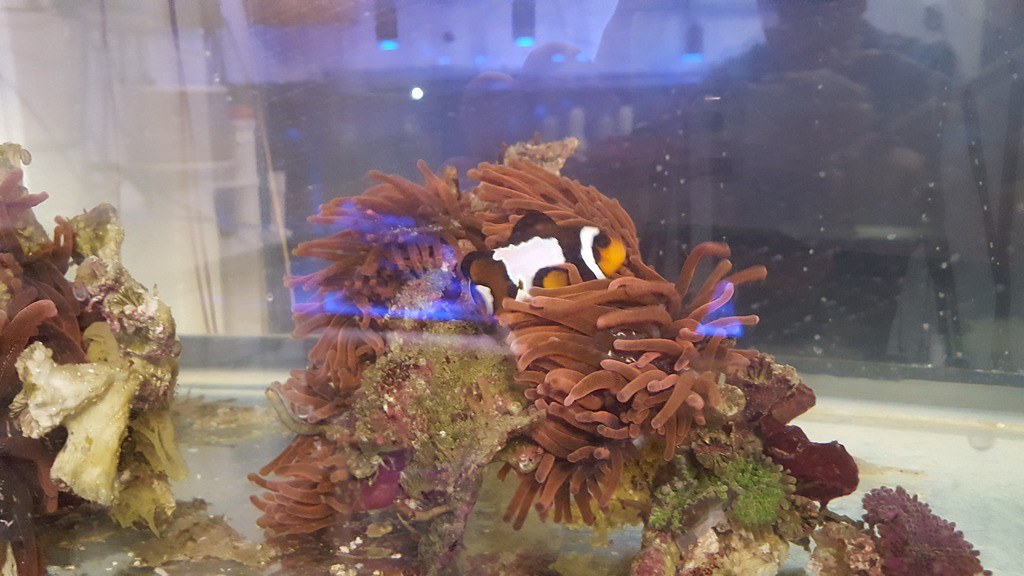
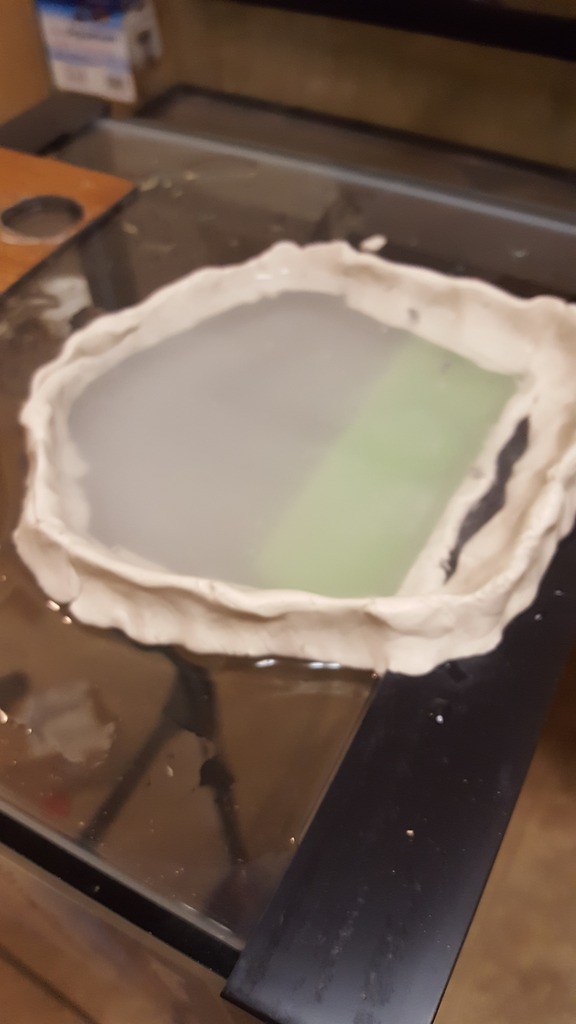
Here is the back of the tank. Chords are a mess but I will work on that later.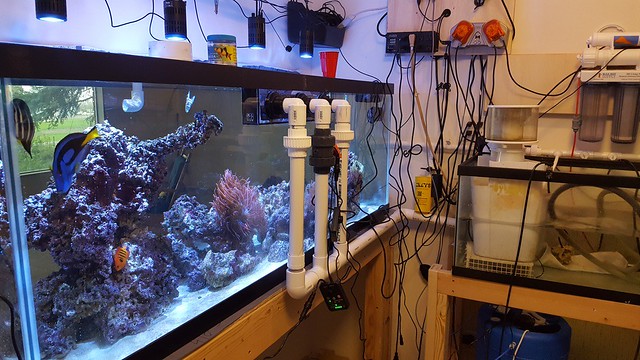 20170424_173430_zpshlrp0igv by Nate Owen, on FlickrHere is the quarantine tank. I am planning on trying my hand at raising clownfish. That is why they are in there. 20170424_173430_zpshlrp0igv by Nate Owen, on FlickrHere is the quarantine tank. I am planning on trying my hand at raising clownfish. That is why they are in there.  20170424_173438_zpsyzimg4tf 20170424_173438_zpsyzimg4tf by Nate Owen, on Flickr
Edited by knowen87 - August 10 2017 at 3:37pm
|
 |
Adam Blundell
Presidency


Joined: June 24 2002
Location: Davis County
Status: Offline
Points: 18526
|
Post Options
Thanks(0)
Quote Reply
Posted: April 24 2017 at 8:54pm |
|
That cast! Whoa!
Adam
|
|
Come to a meeting, they’re fun!
|
|
knowen87
Guest
Joined: March 17 2012
Location: Logan, UT 84321
Status: Offline
Points: 385
|
Post Options
Thanks(0)
Quote Reply
Posted: April 24 2017 at 8:26pm |
Krazie, I think that I am understanding the bean animal differently. The way I understand it is that the herbie is the full siphon that is restricted to just less than the amount of water that you want flow down the overflow. The Durso takes the remaining (small) amount of water that remains as well as variations in flow. To my understanding the durso never takes a full siphon because it has a hole in the top to prevent this. As far as the emergency overflow being like a hole in a straw I am not sure this will happen because the water level will always separate the different overflows because the water level never goes below the output drain into the sump. If I am still not understanding this right please point me to an article that you feel can explain it some more. Thanks. The more that I think about it though I am pretty sure that I want to run the emergency drain as a separate line. I might be redoing the drains.  |
|
Krazie4Acans
Admin Group
Joined: December 17 2012
Location: Syracuse
Status: Offline
Points: 24177
|
Post Options
Thanks(0)
Quote Reply
Posted: April 24 2017 at 3:22pm |
 knowen87 wrote: knowen87 wrote:
Krazie - I took it down lower so that it would not show through the glass on the back of the tank. I am still not sure what I will do for a background. I didn't want to put the sump a lot lower though. I built the sump stand to allow for an additional 40g breeder to fit below.As far as self starting issues, I guess that I am not sure what you are talking about. When the power goes out the overflow box drains and water will just sit in in the drain until the return starts back up. There is no siphoning and it starts up just fine. My main concern is sediment buildup in the line. I will see how it goes. One nice thing is that I do get a lot of flow from the return. The total head height is only like 1.5ft-2ft so the flow rate substantially more than when the sump was under the tank.
|
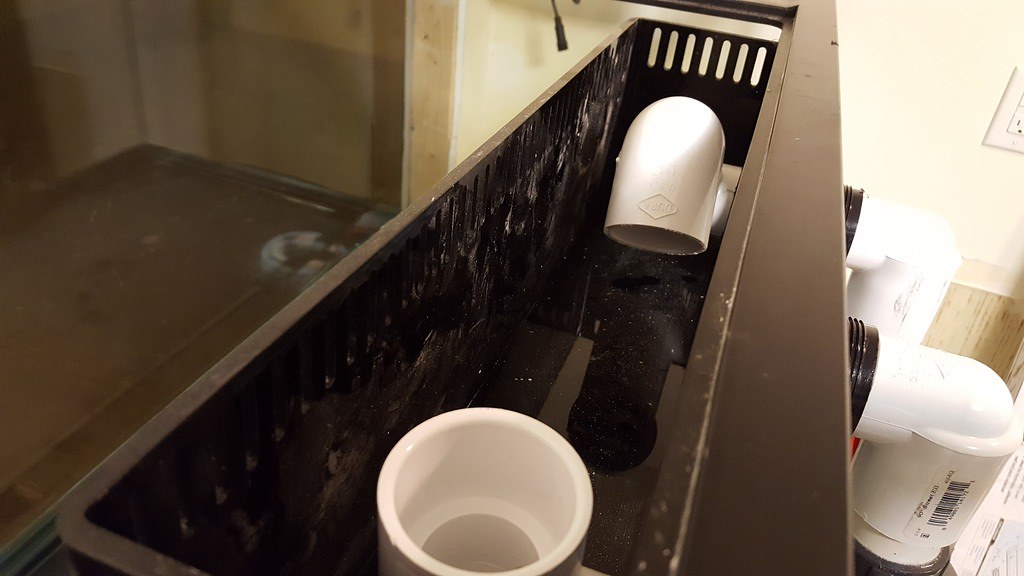
Let me use your picture to try and explain what I meant.  So in order for the bean animal to work correctly (and silently) it has to be able to run a restricted airless siphon on the herbie, upto a full flow on the Durso and not draw air into the line from the emergency. When the return shuts off the siphon breaks on both of the siphon drains and fills the pipe with air down to the level of the water in the sump and then holds water in the pipe drain pipe at that level. See my edit of your picture below. (Red is water level with the return off, yellow is air in the pipe and blue is water left in the pipe).  So then when the the return starts back up the drain has the potential to become whats called air locked due to the air in the lines being trapped between the water in the pipe and the water entering the drains. That air does not want to got down the pipe so this standing water in the pipe creates resistance to the siphons starting by them self until the drain either burps the air back up the drains or is able to break the air up into smaller bits and force it down the pipe and out the sump end. Most drain pipes in this drain setup will completely drain of water during the shutdown to prevent this airlock condition from happening. It sounds like somehow you have not experienced an airlock yet but I just saw that there was the potential for it to happen in this setup. A second question I have after thinking this through is in your setup where all three drains go into a single manifold do you experience any noise from air being sucked from your emergency drain into the manifold and then creating bubbles or gurgling at the sump? Because this drain setup is supposed to work based off of siphon it would seam that your emergency drain is a "hole in the side of the straw" and would be introducing air into what is supposed to be a "sealed" siphon. Sorry about all the questions. Just stuff that popped into my head as I looked at your pictures and read your write up. Thanks for answering and sorry to hear about your daughters leg. I hope she heals up well. Krazie 
Edited by Krazie4Acans - April 25 2017 at 7:09am
|
My ocean. 90g (yup, won it!), 40g, 28g, & 10g Systems PADI Advanced Open Water Tank Thread:
|
|
knowen87
Guest
Joined: March 17 2012
Location: Logan, UT 84321
Status: Offline
Points: 385
|
Post Options
Thanks(0)
Quote Reply
Posted: April 24 2017 at 2:06pm |
Moved the fish tank this weekend. Life can be crazy. My little brother came to help and I am glad he did. We started about 1:00pm and had most things finished by 6:00. Things got a little crazy. I lost the Lamark Angel and a Chromis and my daughter decided to break her leg. It was rough to say the least. I think that everything has calmed down but I am really going to miss the angel. RIP. Ill add some more info and pics in the next day or two
She broke her leg crawling out of the crib both bones. ouch!
Edited by knowen87 - August 10 2017 at 3:35pm
|
|
knowen87
Guest
Joined: March 17 2012
Location: Logan, UT 84321
Status: Offline
Points: 385
|
Post Options
Thanks(0)
Quote Reply
Posted: April 24 2017 at 1:48pm |
Krazie - I took it down lower so that it would not show through the glass on the back of the tank. I am still not sure what I will do for a background. I didn't want to put the sump a lot lower though. I built the sump stand to allow for an additional 40g breeder to fit below. As far as self starting issues, I guess that I am not sure what you are talking about. When the power goes out the overflow box drains and water will just sit in in the drain until the return starts back up. There is no siphoning and it starts up just fine. My main concern is sediment buildup in the line. I will see how it goes. One nice thing is that I do get a lot of flow from the return. The total head height is only like 1.5ft-2ft so the flow rate substantially more than when the sump was under the tank.
Edited by knowen87 - April 24 2017 at 1:48pm
|
|
shaggydoo
Guest

Joined: April 17 2005
Location: Sandy
Status: Offline
Points: 903
|
Post Options
Thanks(0)
Quote Reply
Posted: April 22 2017 at 9:23pm |
|
Keep the updates coming. Looking great!
|
|
60g LPS Cube
|
|
Krazie4Acans
Admin Group
Joined: December 17 2012
Location: Syracuse
Status: Offline
Points: 24177
|
Post Options
Thanks(0)
Quote Reply
Posted: April 21 2017 at 1:39pm |
|
Is there a reason you didn't have your drain manifold run at the same height as the top of your sump instead of dropping below it and then going back up and over the top of the sump?
I'm just curious about it and wondering if you have any issues with it self starting after a power outage?
|
My ocean. 90g (yup, won it!), 40g, 28g, & 10g Systems PADI Advanced Open Water Tank Thread:
|
|
Corey Price
Guest

Joined: August 25 2004
Location: Farmington
Status: Offline
Points: 2567
|
Post Options
Thanks(0)
Quote Reply
Posted: April 21 2017 at 1:09pm |
|
Looks good! Oh boy, a Cartwright engineer... Good, people can ask you if your floor can support tanks now!
|
|
Adam Blundell
Presidency
Joined: June 24 2002
Location: Davis County
Status: Offline
Points: 18526
|
Post Options
Thanks(0)
Quote Reply
Posted: April 21 2017 at 10:38am |
|
Way cool thread
|
|
Come to a meeting, they’re fun!
|
|
lovefishtank
Guest
Joined: April 21 2017
Location: Taiwan
Status: Offline
Points: 1
|
Post Options
Thanks(0)
Quote Reply
Posted: April 21 2017 at 5:13am |
|
Great project! I'm following this.
Edited by lovefishtank - April 21 2017 at 5:16am
|
|
Hi every body
|
|
Scottyb
Guest

Joined: January 01 2017
Location: Willard
Status: Offline
Points: 80
|
Post Options
Thanks(0)
Quote Reply
Posted: April 19 2017 at 6:20pm |
|
Lol, ok I thought I was reading it wrong. That's great
|
|
knowen87
Guest
Joined: March 17 2012
Location: Logan, UT 84321
Status: Offline
Points: 385
|
Post Options
Thanks(0)
Quote Reply
Posted: April 19 2017 at 6:16pm |
|
The tds between the ro and the di resin is 2. It is 0 coming out of the di resin. I was just saying that im glad that i no longer go through 15 bucks worth of resin to do 60 gallons of water.
|
|
Scottyb
Guest
Joined: January 01 2017
Location: Willard
Status: Offline
Points: 80
|
Post Options
Thanks(0)
Quote Reply
Posted: April 19 2017 at 5:59pm |
|
So you have 1 to 2 tds going into your fish tank? How old are the filters? I've always had 0 coming out and when it starts reading1 or 2 then I look into getting new filters...maybe just me being paranoid, lol
Looking good though, can't wait to see it with fish!
|
|
knowen87
Guest
Joined: March 17 2012
Location: Logan, UT 84321
Status: Offline
Points: 385
|
Post Options
Thanks(0)
Quote Reply
Posted: April 19 2017 at 1:24pm |
I filled up the tank with ro water and salt. It is very close to being ready for the fish. I hope the move will go ok. On a side note. Our previous house had a well with very hard water. The TDS of the water was like 16 after the RO membrane. We also had (after some disscusion with BRS) what appeared to be CO2 in the water. I would go through 1 can of DI resin in 60 gal or less of treated water. I am happy to report that my water at this new house has a TDS of 1-2 after the RO membrane and I have filled up almost 300 gallons of tanks and I have barely used any DI resin. I guess that means more money for everything else.
Edited by knowen87 - August 10 2017 at 3:33pm
|
|
knowen87
Guest
Joined: March 17 2012
Location: Logan, UT 84321
Status: Offline
Points: 385
|
Post Options
Thanks(0)
Quote Reply
Posted: April 18 2017 at 9:22am |
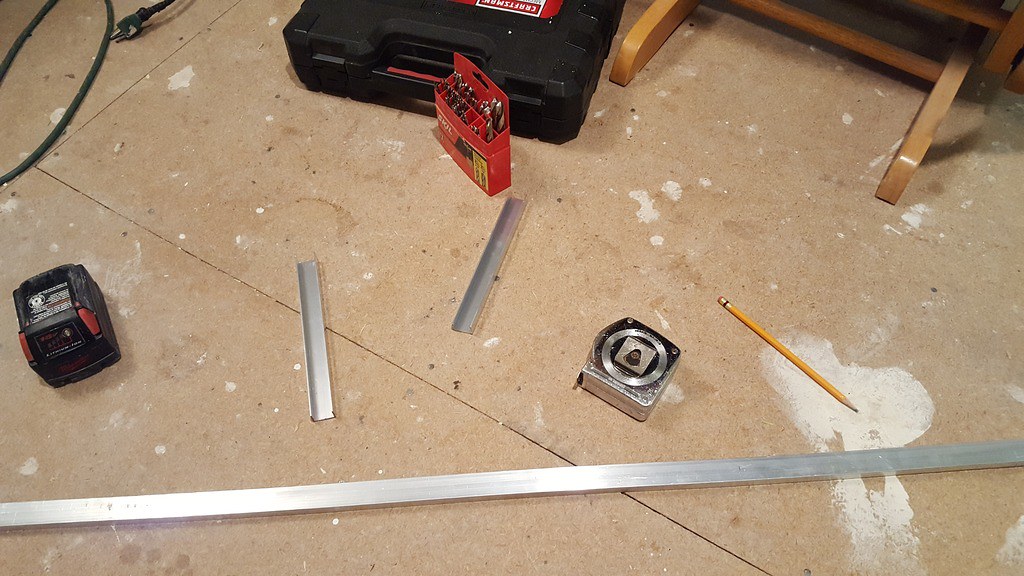
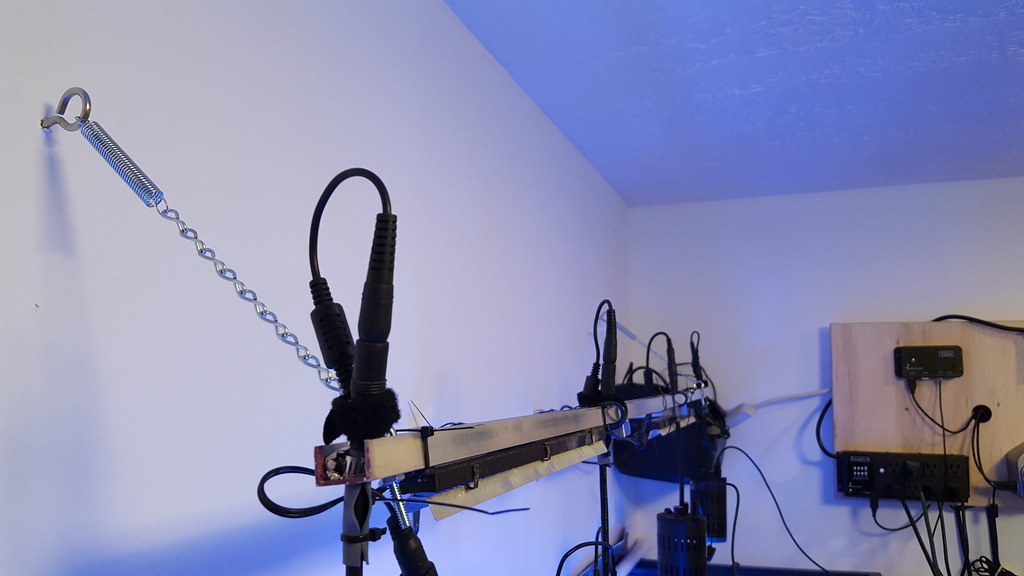
I got a light rack put together. I made it out of some aluminum c channel. I made it so that it can be moved up out of the way if I need it to. The kessils are not very big though, so I dont think that I will need to have them move very often. In order to make sure that there was never too hard of an impact while moving the lights, i also added some 2lb springs to the wall attachment. It works great.
I also got all of the lights hooked together. Hopefully a physical connection will be better than the AI Director that I have been using for my old lights. I like how simple the kessils are
Edited by knowen87 - August 10 2017 at 3:30pm
|
|
knowen87
Guest
Joined: March 17 2012
Location: Logan, UT 84321
Status: Offline
Points: 385
|
Post Options
Thanks(0)
Quote Reply
Posted: April 11 2017 at 1:44pm |
With the braces done, I also finished the stand for the 40g breeder sump and the plumbing for the tank. It was time to add water to the tank. This is always the most stressful time for me. I never get a good nights sleep right after I fill up a tank. especially a large tank. the whole time it was filling up I would keep checking everything. "Is it still level", "how is the stand", "how is the silicone holding up". Everything went perfect. The stand was perfect. The tank was perfect. There were no leaks.
Edited by knowen87 - August 10 2017 at 3:27pm
|
|
knowen87
Guest
Joined: March 17 2012
Location: Logan, UT 84321
Status: Offline
Points: 385
|
Post Options
Thanks(0)
Quote Reply
Posted: April 11 2017 at 1:33pm |
I added the braces last weekend under the tank. It was pretty minor stuff. It is perfect because the tank sits right above a room full of storage racks so it was easy to do. I did add a beam to support one joists because it will be holding one leg of the stand, the sump and the 70g water storage tank. I checked it in the software at work and it said it would be at 85% capacity without the beam so I just added a (2)2x6 beam for good measure.
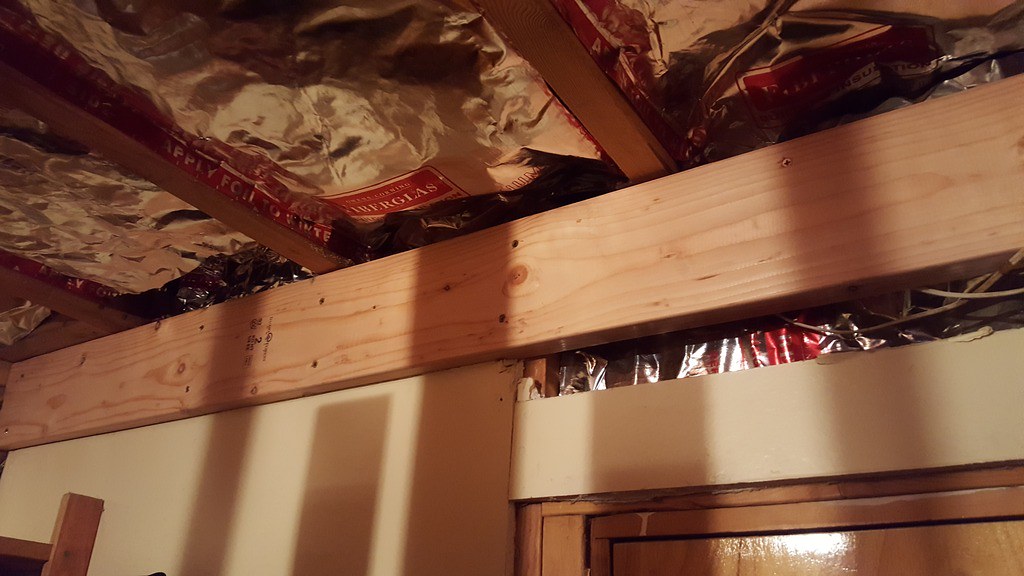 20170406_194103_zpsd8ssjpmh 20170406_194103_zpsd8ssjpmh by Nate Owen, on Flickr
Edited by knowen87 - August 10 2017 at 3:26pm
|
|
knowen87
Guest
Joined: March 17 2012
Location: Logan, UT 84321
Status: Offline
Points: 385
|
Post Options
Thanks(0)
Quote Reply
Posted: April 06 2017 at 11:18am |
Thanks VdubReefer. It can be hard to remember to take pictures sometimes but it makes for a good build thread that is for sure.
|
|
knowen87
Guest
Joined: March 17 2012
Location: Logan, UT 84321
Status: Offline
Points: 385
|
Post Options
Thanks(0)
Quote Reply
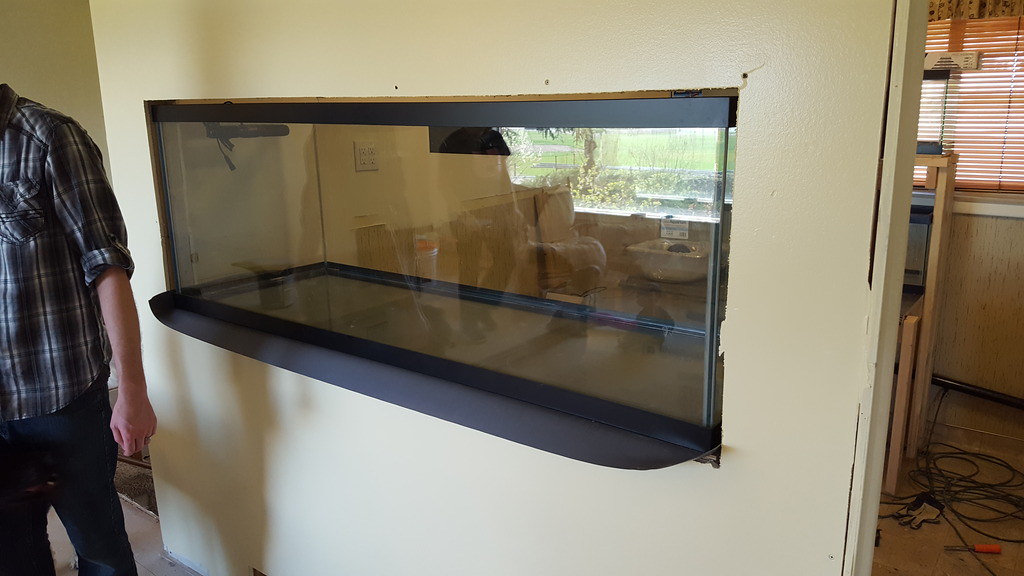
Posted: April 06 2017 at 11:09am |
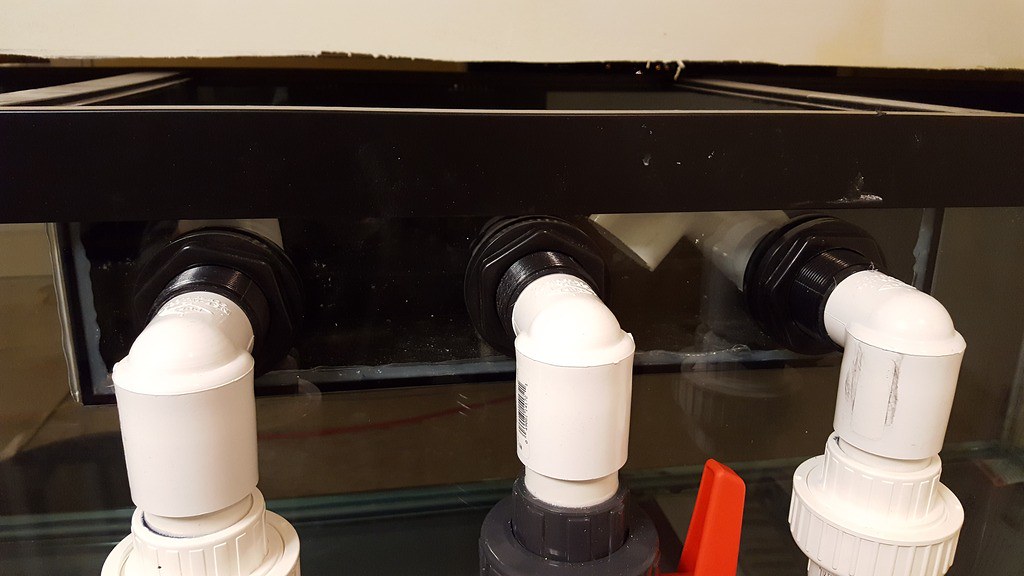
I got the tank in last weekend. I had to drill 3 holes in the back of it which made me very nervous ( to the point that I did not sleep well the night before). I also got the species/qt stand painted and the sink in and hooked up to the plumbing. I also got the plumbing started for the overflow. The drains are all 1 1/4" they will go down to the stand level and connect into a 1 1/2" manifold. It is a process but it is coming along nicely
Edited by knowen87 - August 10 2017 at 3:24pm
|
|