Air Powered ATO
Printed From: Utah Reefs
Category: Specialized Discussion
Forum Name: DIY
Forum Description: Do it Yourself
URL: http://www.utahreefs.com/forum/forum_posts.asp?TID=38878
Printed Date: June 16 2026 at 5:36am
Software Version: Web Wiz Forums 12.03 - http://www.webwizforums.com
Topic: Air Powered ATO
Posted By: bfessler
Subject: Air Powered ATO
Date Posted: February 22 2010 at 6:28am
|
This project was submitted by Todd (Mad Dawg)
Homemade automatic top-off. Quoted from el fabuloso of nano-reef.com. Thanks to kayak24seven for the link to this build. I am going to build one for my next tank project. "" 1. You need a float switch. I got the smallest one from http://www.chicagosensor.com/Miniature_Vertical_Mount_Float_Switches.html - http://www.chicagosensor.com/Miniature_Vertical_Mount_Float_Switches.html - http://www.chicagosensor.com/Miniature_Vertical_Mount_Float_Switches.html for $8. 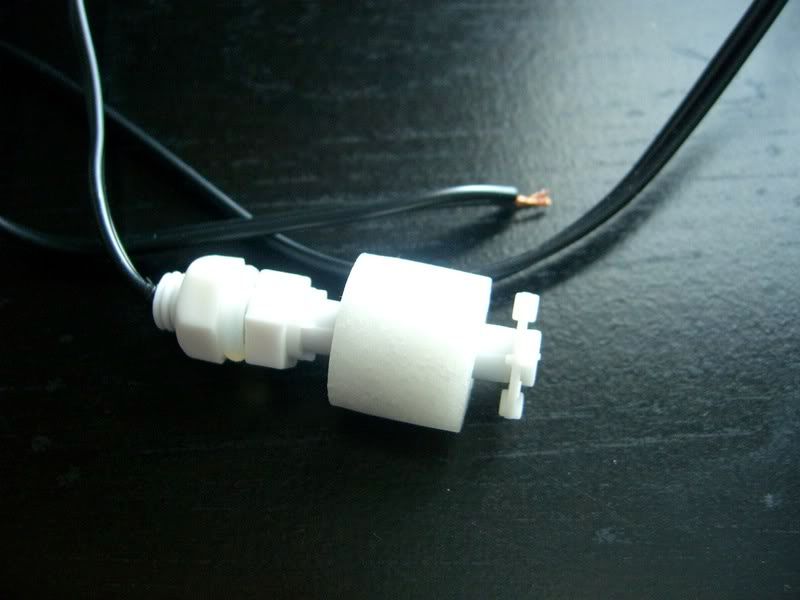 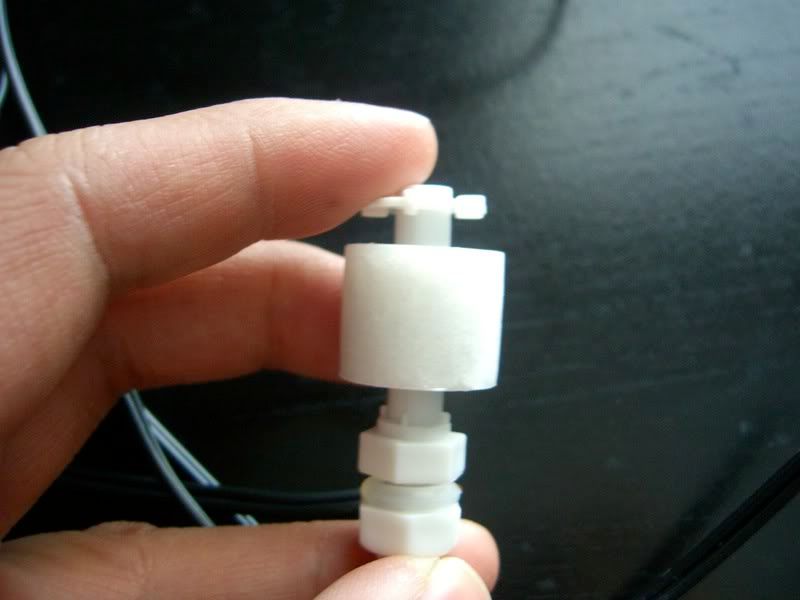 2. You need a cheap extension cord. 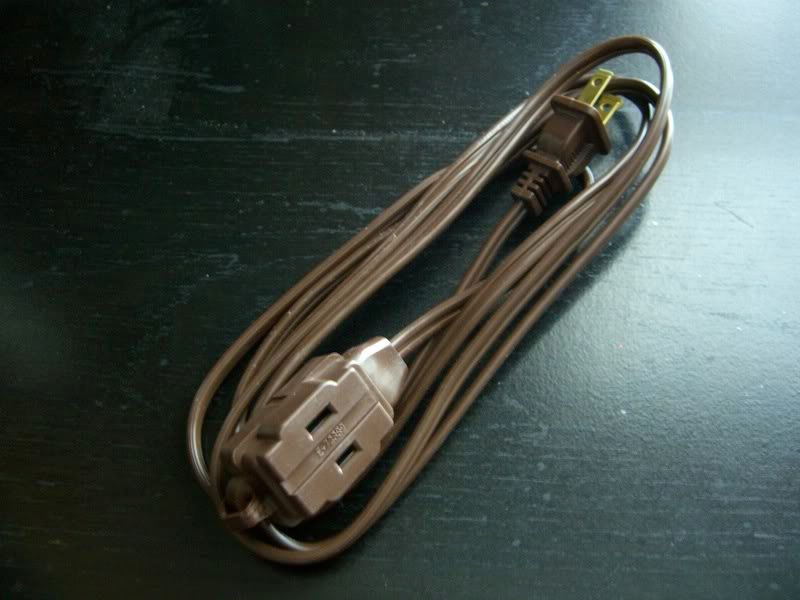 3. You need two electrical twist connectors and electrical tape. 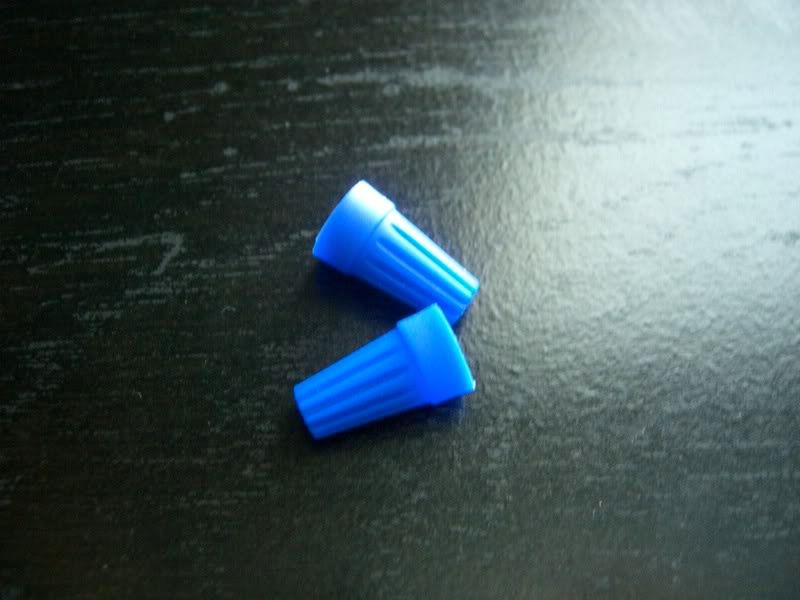 4. You need airline tubing and an air pump. Any size air pump will work and you don't need anything fancy. 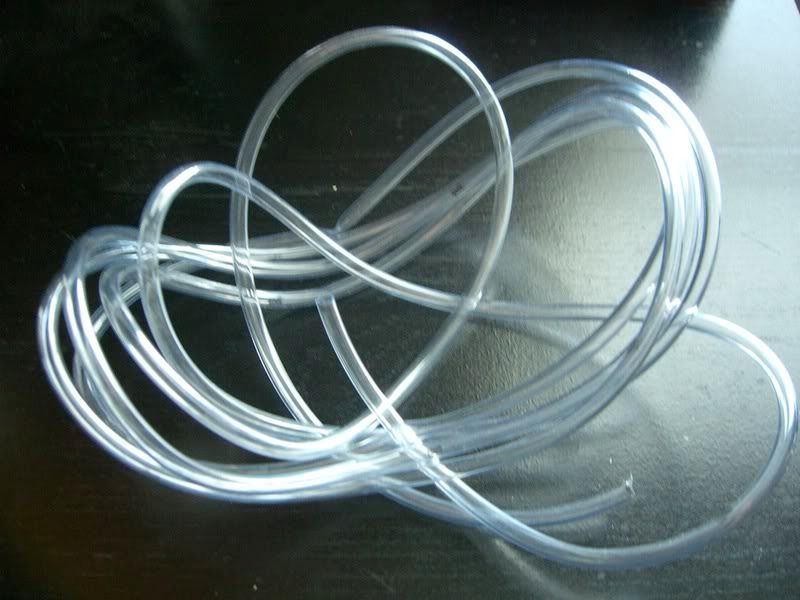 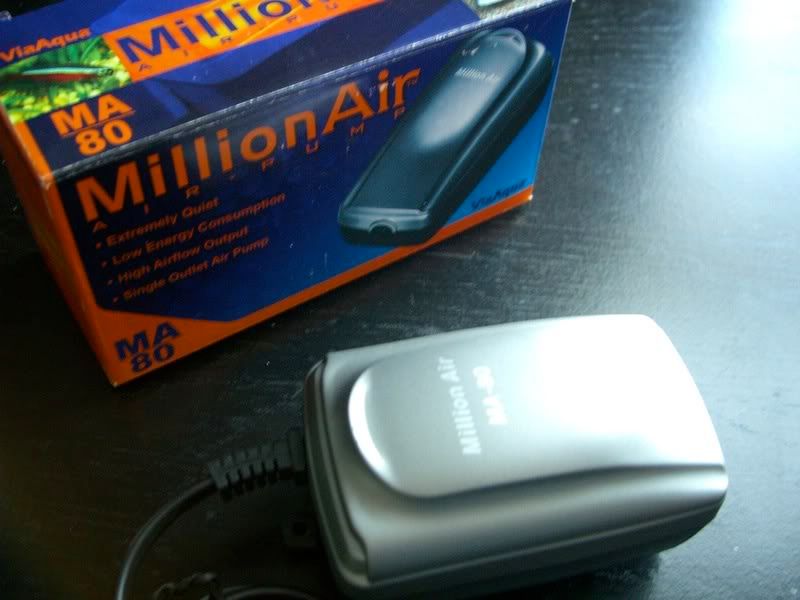 5. You need something to house the float switch in to prevent snails and shrimps from climbing on top of it and accidentally turning on the switch. I decided to use the plastic container that epoxy putty comes in since it was free for me. If you don't have one, get one. You will need one anyway once you start mounting and gluing frags down.  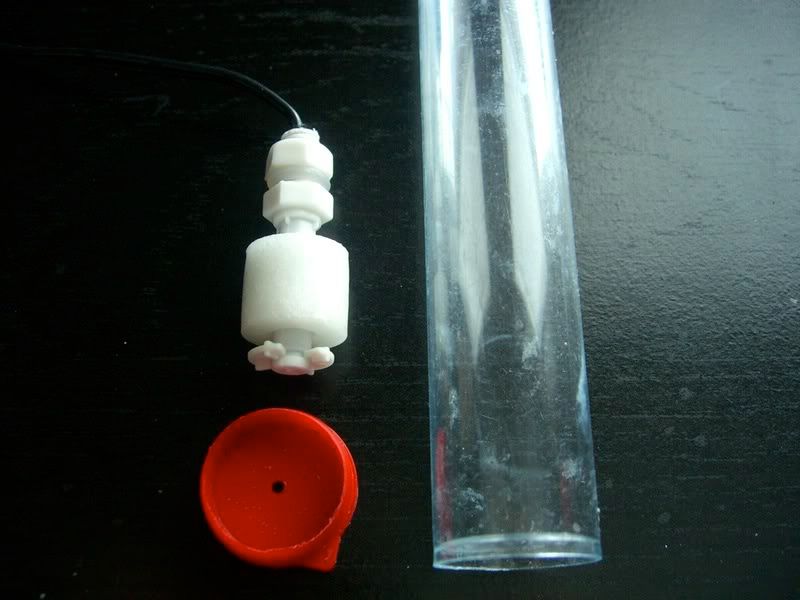 6. Measure how much vertical room you need for the float switch. I found that 1.5" gives you a decent amount of clearance. Keep in mind that you will be cutting the tube from the end, not the top.  7. Make your marks on the tube with a Sharpie. Be sure to make several points around it to make sure that it's straight. 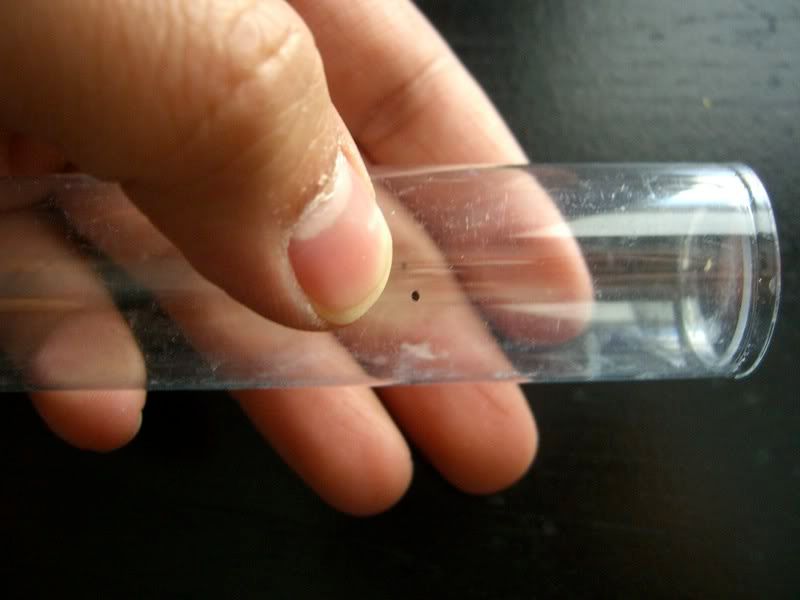 8. Tape off the edge with masking tape. I find that it's easier for me to masked off the side I want to keep. 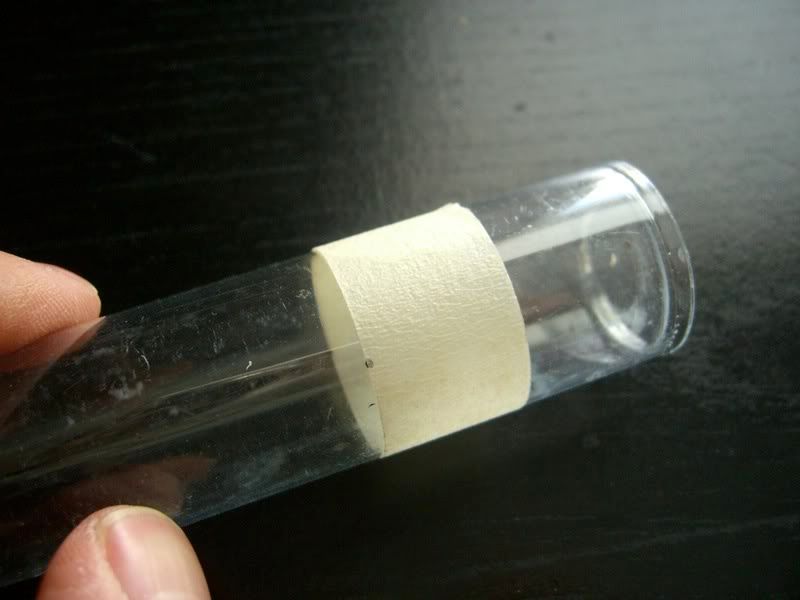 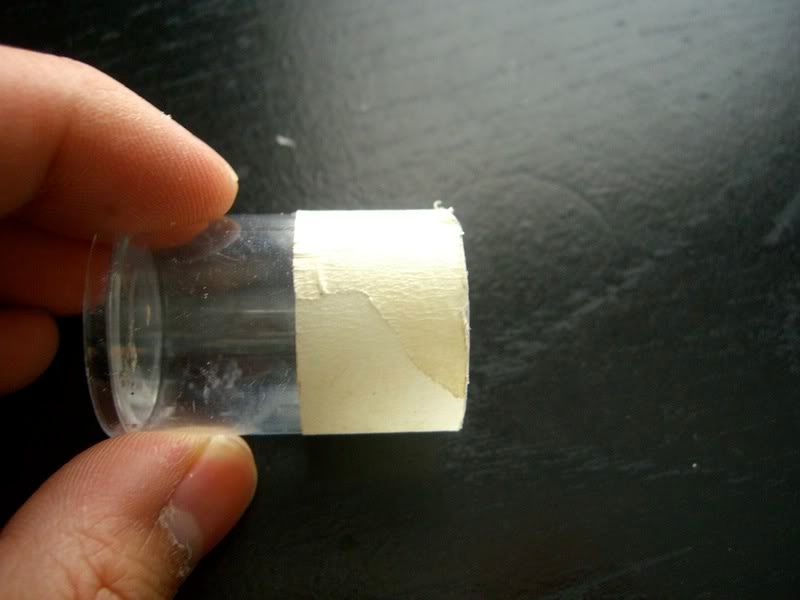 9. And you've got your housing. 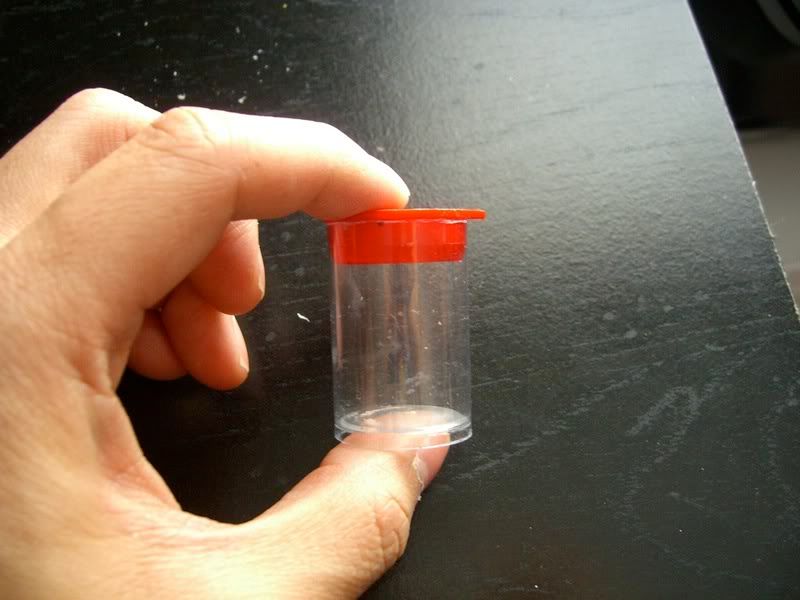 10. Now you need to make some holes. You need a hole on the top of the lid for the wires to go through and a hole on the bottom to let water in. You also need to punch some holes on the tube to let pressure out and allow the float switch to float at the actual water level. 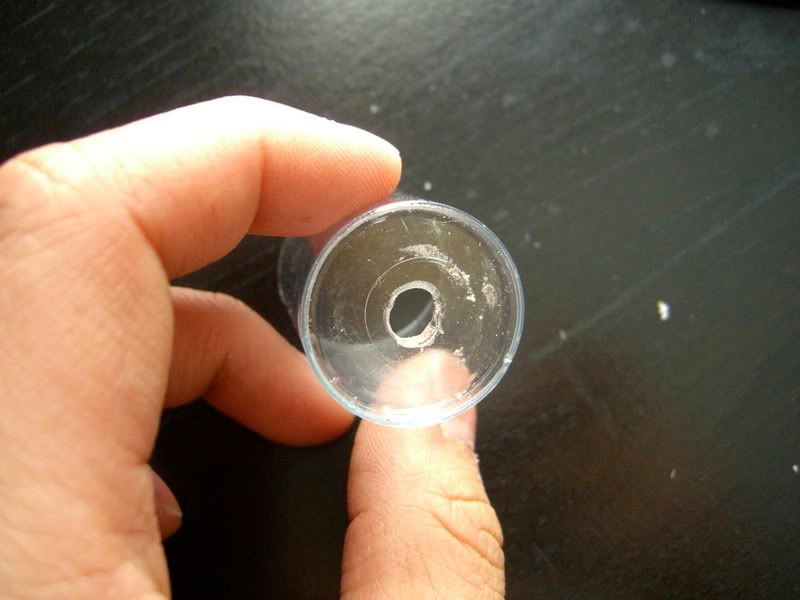 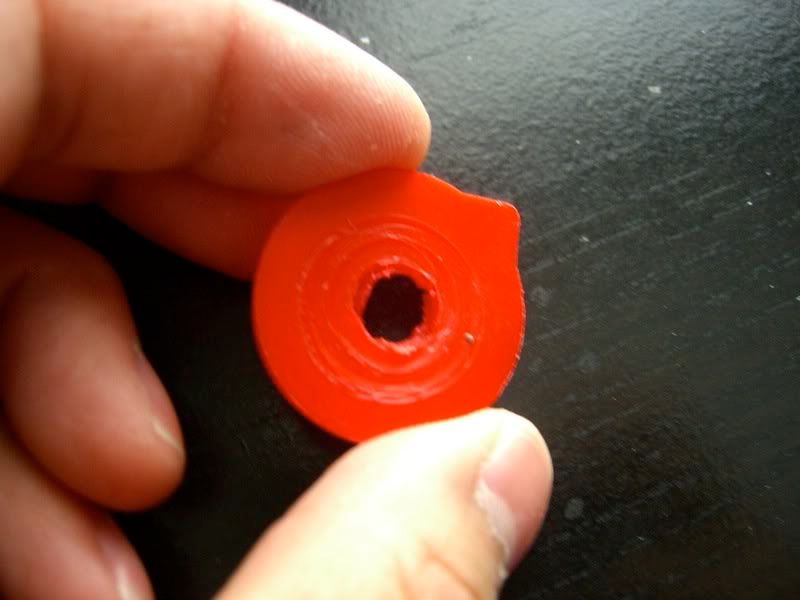 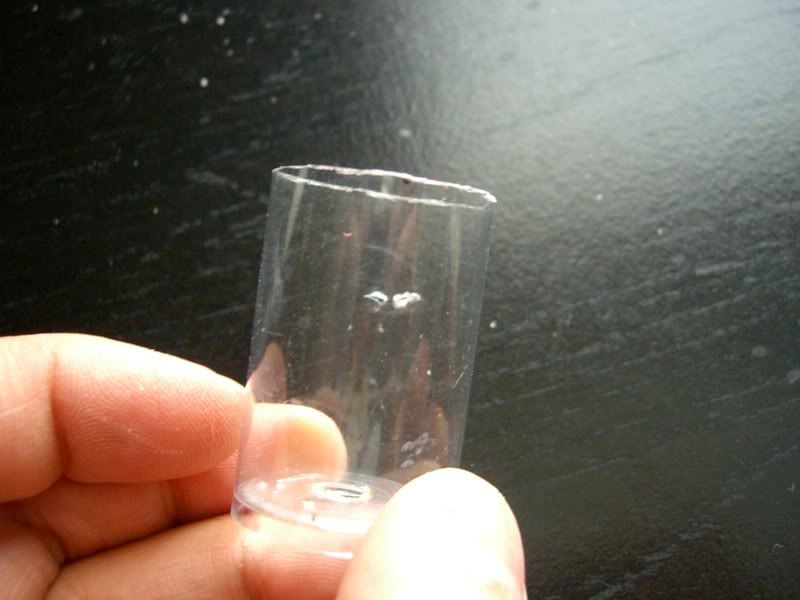 11. Thread the wires through hole on the lid and screw the plastic nut on the outside. 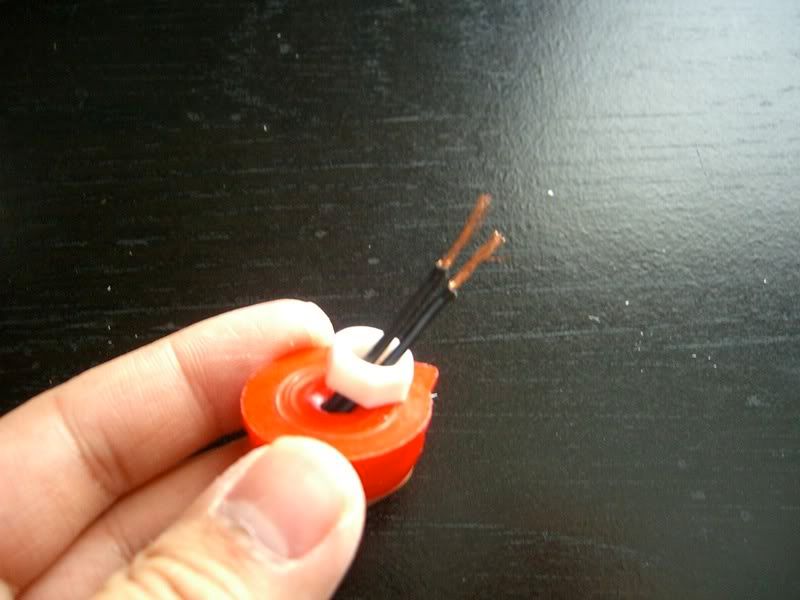 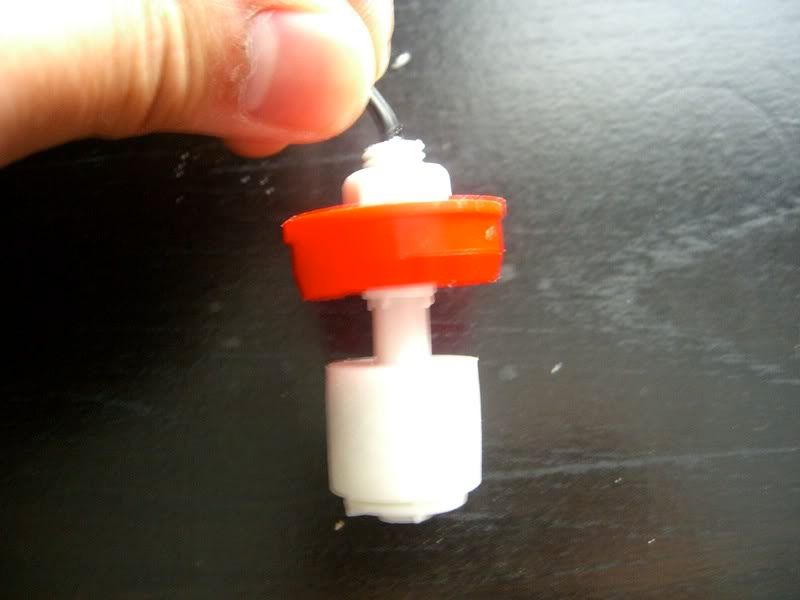 12. You may need to tighten or loosen the nut according to make sure the float switch is dead center in the tube so that it doesn't stick. 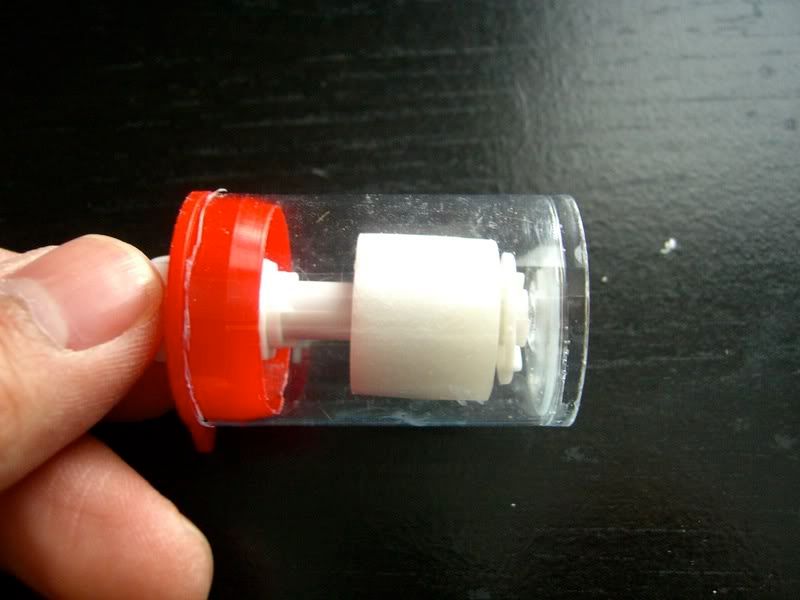 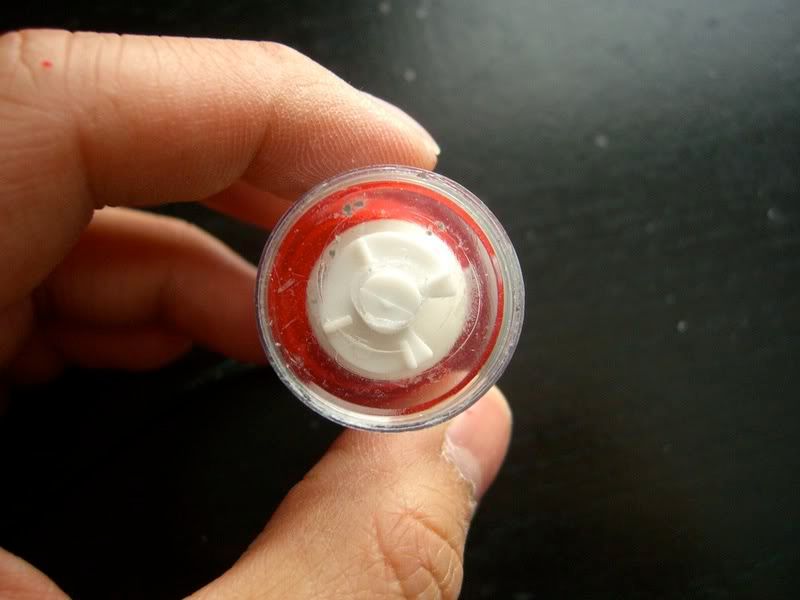 13. Now you need to splice the float switch into the extension cord. Find the middle part of the extension cord and separate the two wires.  14. Cut one of the wires in half and splice off the casing so you get two exposed wires that are about the same length as the wires on the float switch.  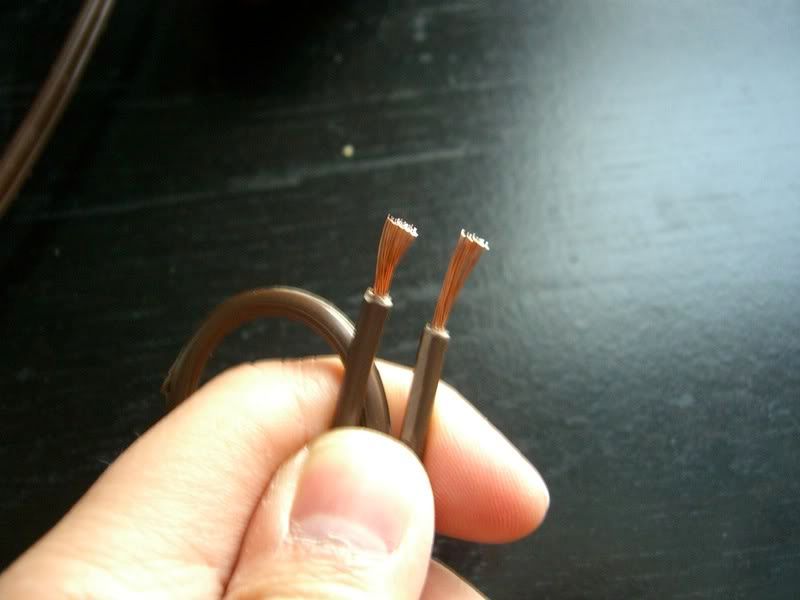 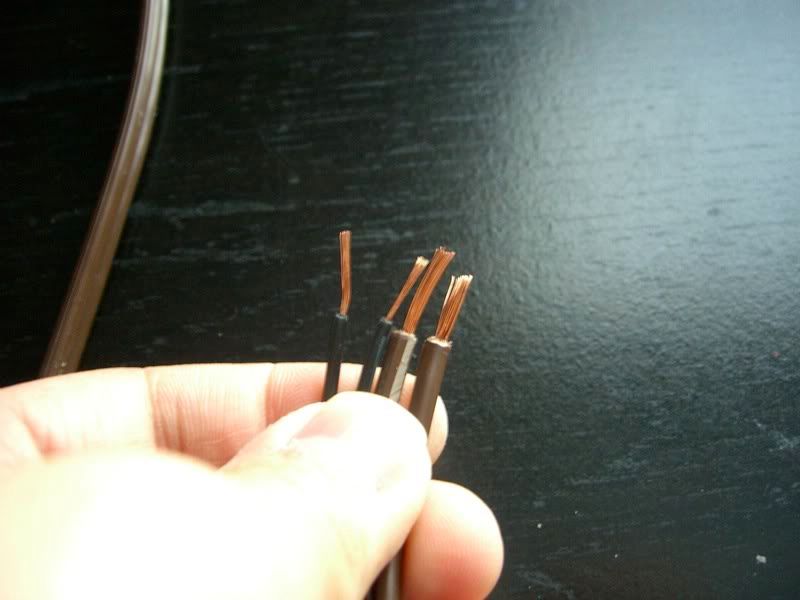 15. Twist each of the float switch wires into each of the spliced extension cord wires. Secure with a twist connector and seal it up with electrical tape. 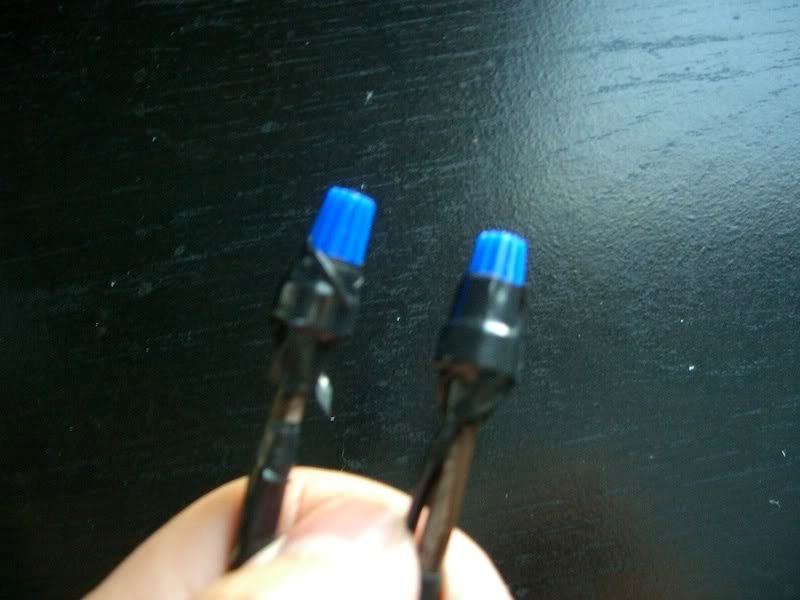 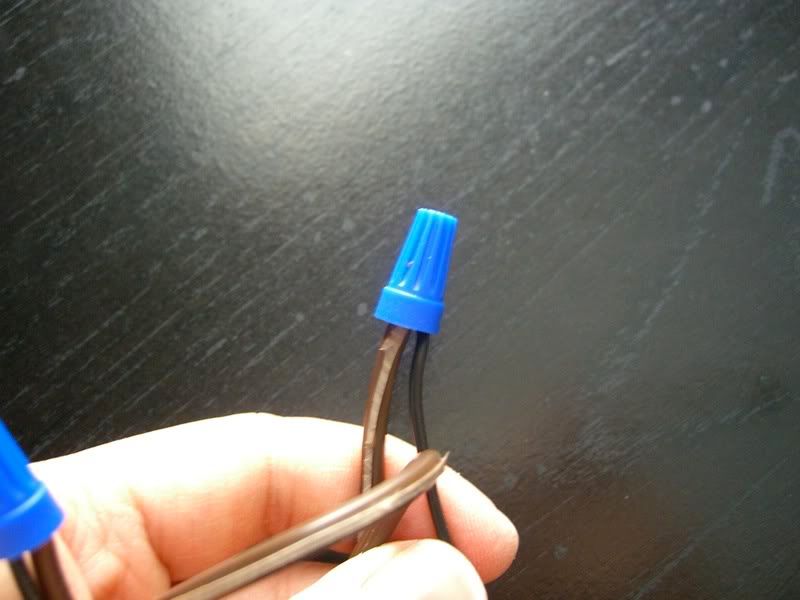 16. Now you need to make the reservoir cap. Punch two holes on a water jug cap and put in two airline connectors. 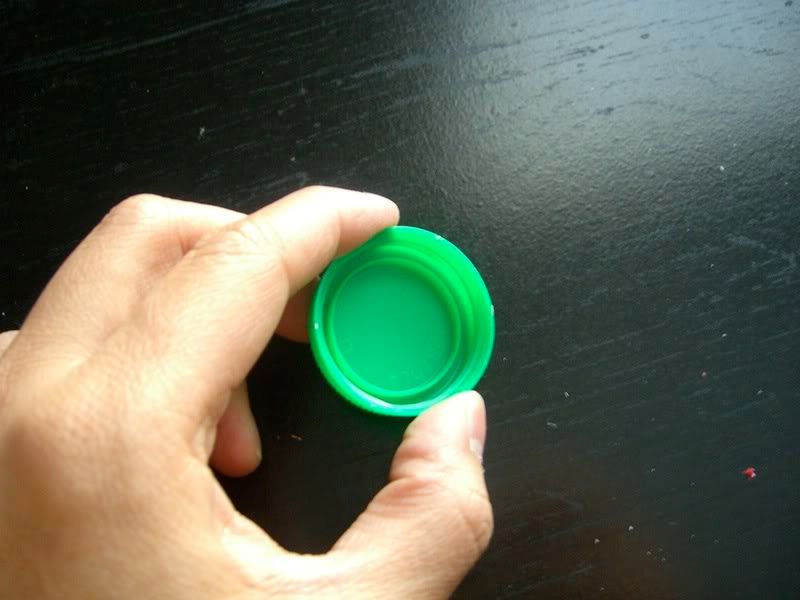 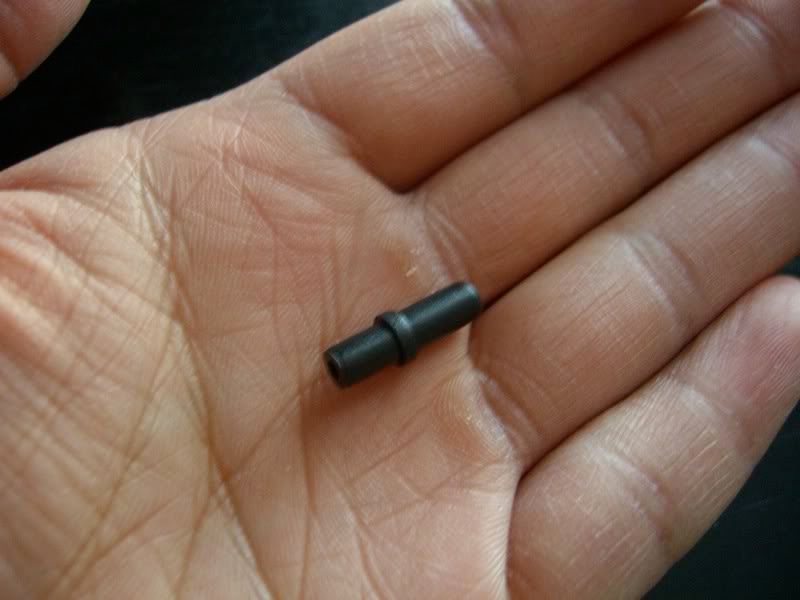 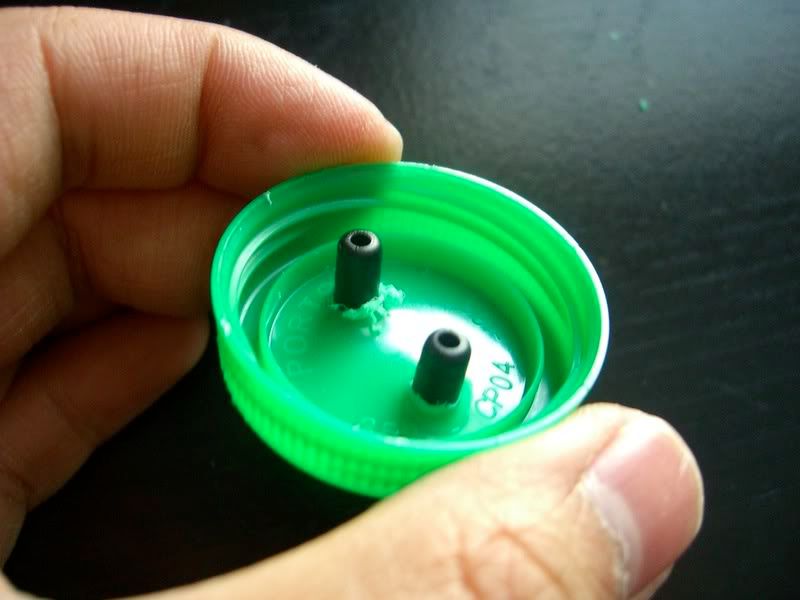 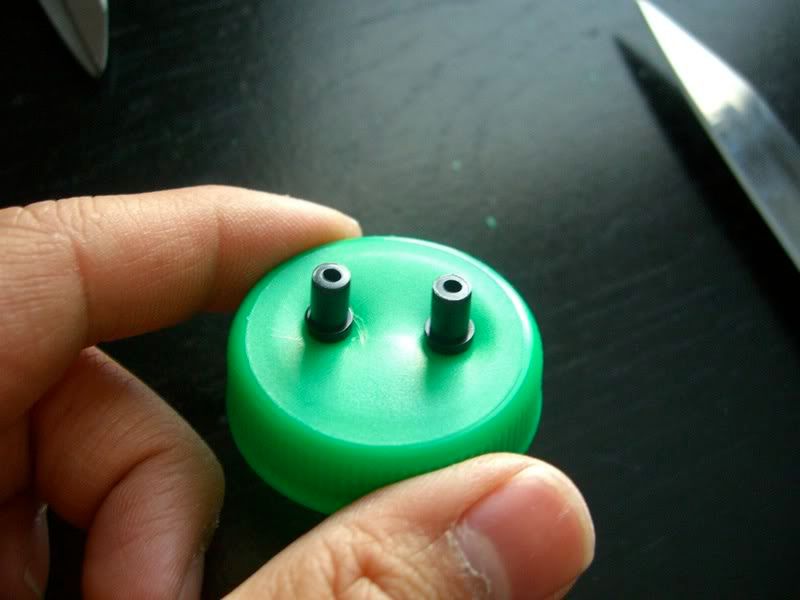 17. Seal both sides of the cap with aquarium sealant to make sure it's water and airtight. Give it some time to dry. 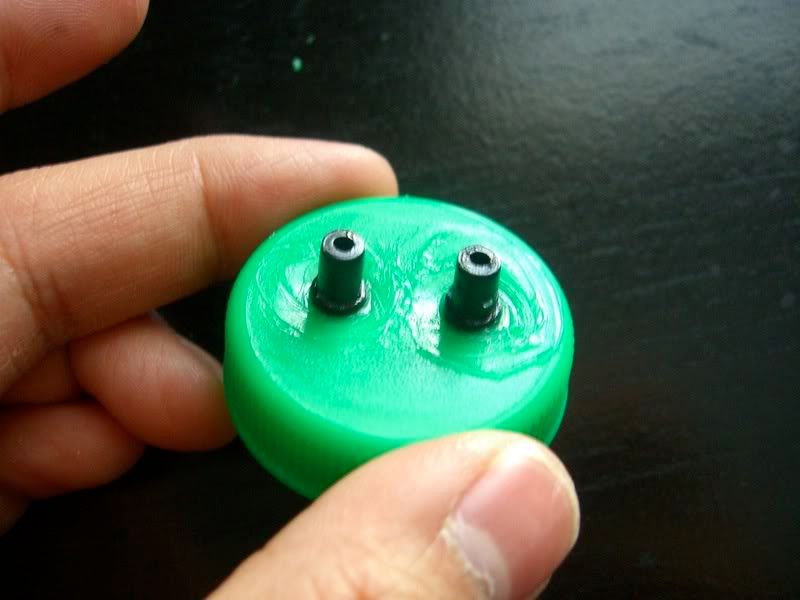 18. You will need a rigid airline tube that goes the full length of the jug so that it can draw water from the bottom. Initially I used airline tubing but discovered that it tends to curl up. 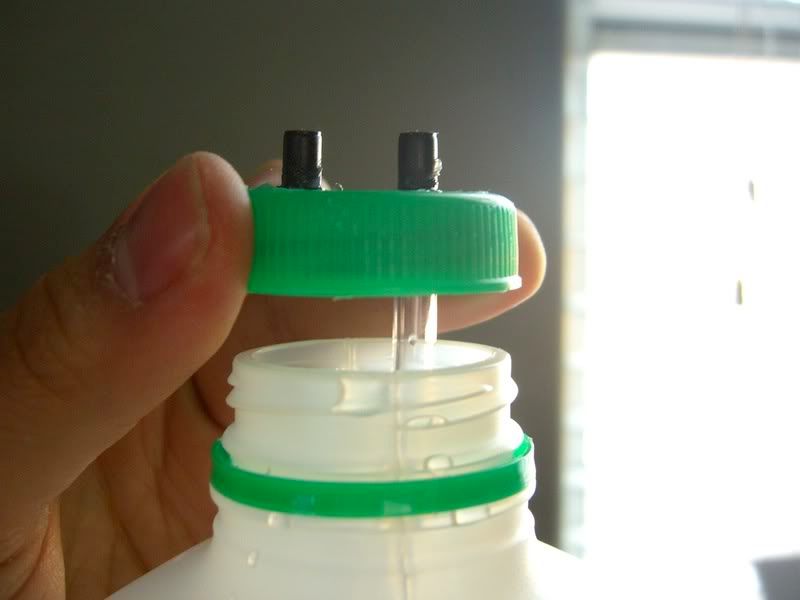 19. Hook everything up. The tube from the air pump needs to go into the open hole and the exit line that takes water into the tank should be attached to the hole with the rigid tubing. 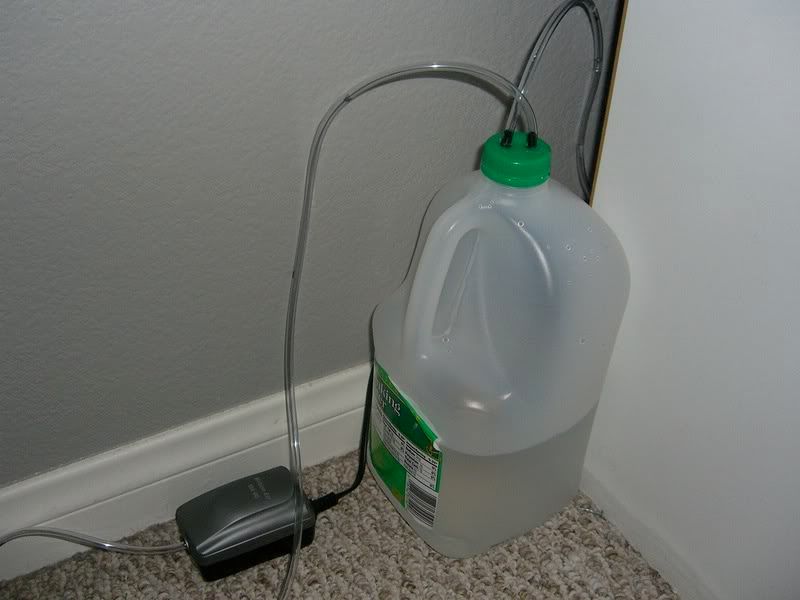 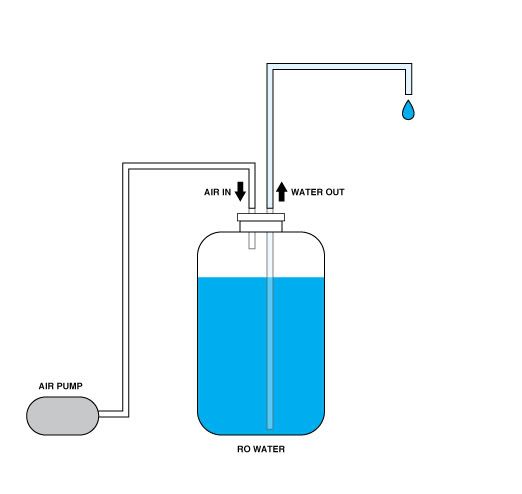 20. Find a good place to put the float switch in. You can put the exit tube right next to the switch or any other place that works best for you. Just make sure that it stays above the water or else it will siphon water out from your tank. 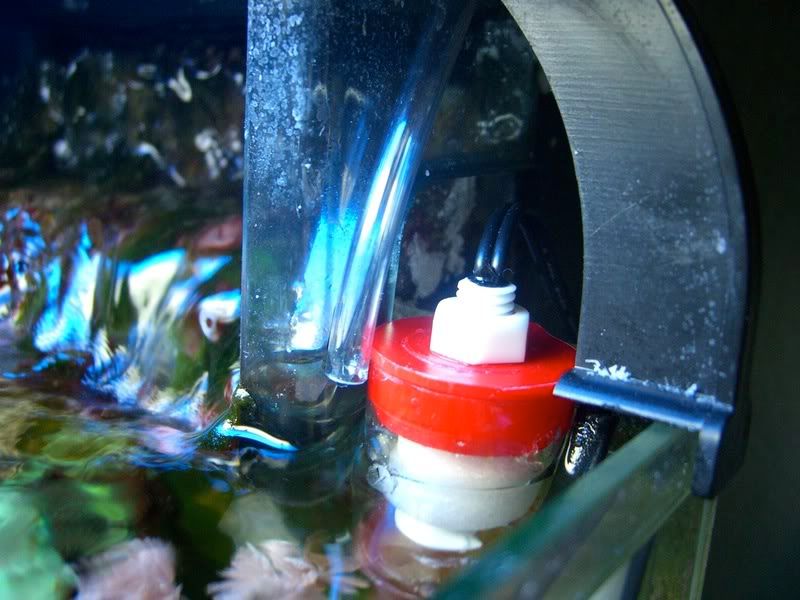 The tricky part is mounting the float switch on the tank. I have mine wedged between the AC fuge and one of the Dual Satellite's mounting legs. It's not entirely secure but it's secure enough for now while I try to figure out a good permanent fix for it. If you can figure out a good way to secure it on the tank, let me know."" I am going to try to use a heater suction cup and clip to attach this. Also, soldering then heat shrinking the switch to the extension cord would be better. ------------- Burt An equal opportunity reefer, I support all hobbyists and organizations involved in Marine Aquarium Keeping. [email protected] |
Replies:
Posted By: Ahanix
Date Posted: February 22 2010 at 8:46pm
|
Thats awesome, now to try and find a way to get this system working in my biocube.... |
Posted By: Mad Dawg
Date Posted: February 25 2010 at 2:53am
|
I'm actually going to do a slightly modified version of this. Basically it will be an air powered version of this: http://www.aquahub.com/store/product26.html - http://www.aquahub.com/store/product26.html . Effectively a hybrid of the two systems. I like that this one uses a relay so that the switch is low voltage (12V) and includes a box to house all the electrical connections. ------------- Todd 14g nano mixed reef project |
Posted By: thefu
Date Posted: February 25 2010 at 9:13pm
| +1 for relay and low voltage. |
Posted By: bfessler
Date Posted: February 25 2010 at 9:31pm
|
+2 for the relay. I use a float switch and relay on my ATO that uses an aqualifter to pump water to the tank. Better not to have any chance of line voltage in the water. I didn't notice that this was putting line voltage through the float switch when I first read the post. This adds a little to the cost because you need a relay and 12V transformer but is much safer. ------------- Burt An equal opportunity reefer, I support all hobbyists and organizations involved in Marine Aquarium Keeping. [email protected] |